CONTAINER APPS · GUIDE
Deploy from Git
Point us at a git repository that contains a docker-compose.yml. We clone it, build every service's image on our own infrastructure — you don't need a container registry — and deploy the whole stack, wired together, on the CDN.com.tr managed container platform. It's the fastest path from “my repo” to “running in production”.
A repository with a docker-compose.yml. Services with a build: section are built from their Dockerfile; services that reference a public image: (databases, caches, queues) are used as-is and wired in as managed add-ons or apps. That's it — no registry account, no image pushing, no CI setup.
1 · Open “Deploy from Git”
In your CDN account open Platforms → Container Apps, expand App creation, and click Deploy from Git (next to Import from Docker Compose).
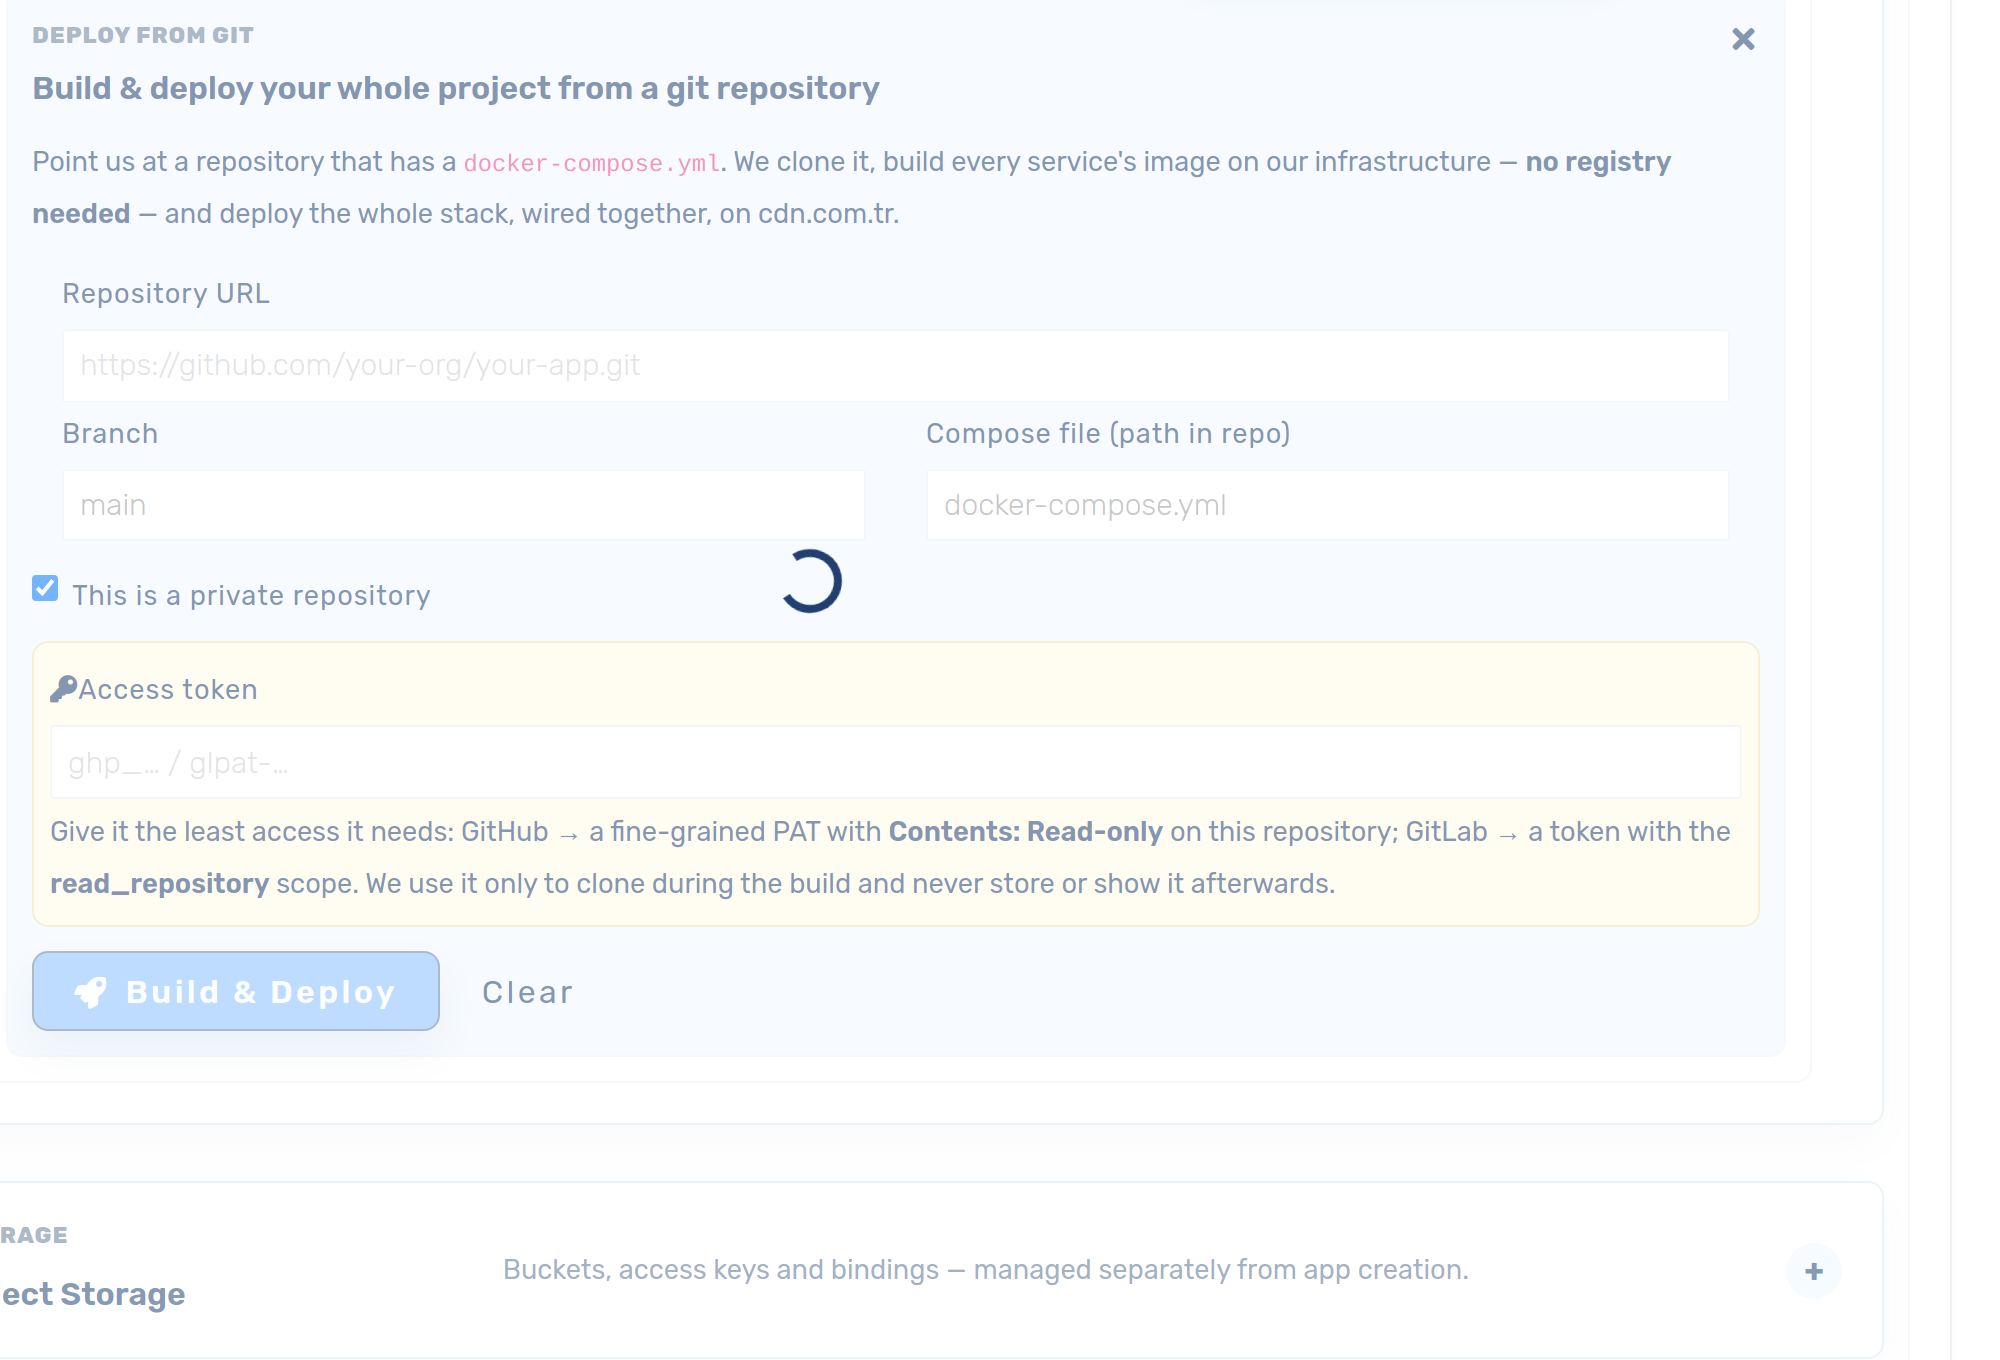
2 · Fill in your repository
- Repository URL — the
https://clone URL, e.g.https://github.com/your-org/your-app.git. - Branch — the branch to deploy (defaults to
main). - Compose file — path to the compose file inside the repo (defaults to
docker-compose.yml). Build contexts are resolved relative to this file, so a compose kept in a subfolder works fine.
3 · Private repositories & access
GitHub (recommended): click “Connect GitHub”. A one-click GitHub App installation lets you pick repositories from a dropdown — no tokens to create, copy or rotate, and it also powers auto-deploy webhooks (step 5). You choose exactly which repositories the app can see, and can revoke it on GitHub at any time.
Alternatively — or for GitLab — tick This is a private repository and paste an access token. Give it the least access it needs:
- GitHub — a fine-grained Personal Access Token scoped to this one repository with Contents: Read-only.
- GitLab — a project or personal access token with the read_repository scope.
A pasted token is used only to clone your repository during the build. It is stored write-only for the duration of the build and is never shown back or reused — revoke it any time.
4 · Build & deploy
Click Build & deploy. A live progress bar shows each step:
- Reading compose — we clone your repo and parse the compose file.
- Building <service> — each
build:service's image is built from its Dockerfile in a sandboxed builder and pushed to our private registry. - Deploying — every service becomes a container app, wired to the others by service name (exactly like
docker-compose), with databases/caches attached.
When it finishes, web-facing services are exposed automatically on an instant <uid>.cdn.com.tr subdomain (you can attach your own domain any time) — open Your apps to see them running.
5 · Keep connected — auto-deploy & the deployment pipeline
Tick “Keep connected — auto-deploy on every push to this branch” before deploying. From then on, every push to the branch rebuilds and redeploys automatically — and the Deployment pipeline card appears on Container Apps:
- Enable staging on the card and pushes deploy a Staging test copy (on its own test URL) instead of production — production only changes when you click Promote, with one-click rollback.
- This is the recommended way to run a connected repository: no more “every commit redeploys production”.
Full walkthrough: Deployment pipeline — push → Staging, Promote → Production.
How it works (and why it's safe)
- We build your images from your Dockerfiles — no registry account needed. Multi-stage builds,
target:andbuild.argsare honored. - Sandboxed builds & runtime. Both the build and your running containers execute under a hardened gVisor sandbox, isolated from other tenants and the host.
- Service discovery — apps in your account reach each other by service name, just like compose. Databases, Redis and NATS are provisioned as managed add-ons.
- Ship safely. Combine this with Blue/Green preprod to test a copy on its own URL before taking it live.