
What "setting up a CDN" actually means
Setting up a CDN means connecting your existing website to an edge network that already spans the world, so your content is served to each visitor from the closest location. Despite the phrase "CDN server setup", you almost never build a server — no hardware, no software installs. The whole job is configuration: a DNS change that routes your domain through the CDN, plus a few minutes in the panel.
There are two ways to connect. A Pull CDN leaves your site where it is and routes your domain through the CDN, which fetches content from your existing server (the origin) and caches it automatically — this is what most sites use. With a Push CDN you upload static files (images, video, downloads) to the CDN's own storage and serve them from there directly. Either way you are not building servers; you are redirecting traffic to the edge.
The fast path: a managed CDN
On a managed CDN the whole setup is a short guided flow: create an account, add your domain as a delivery hostname, and point a single DNS record at the edge — an A record to the edge IP, or a CNAME to the CDN hostname. The provider verifies the domain, issues SSL automatically and starts caching. There is nothing to install, patch or scale.
This is the right path for almost everyone. The cdn.com.tr panel shows the exact records to set; DNS and automatic SSL are managed for you, and once the DNS change takes effect your site sits behind the CDN — with edge caching, a WAF and DDoS protection — within minutes.
The hard path: building your own CDN
You can build your own CDN, but it is a serious infrastructure project. You need edge servers in several countries, caching software configured on each (Nginx or Varnish), TLS certificates issued and renewed everywhere, DDoS protection, GeoDNS or anycast to route visitors to the nearest node, and monitoring for the whole fleet. Then you maintain and pay for all of it.
For a single site this rarely makes sense — the cost and operational load dwarf the benefit. A managed CDN gives you the same global edge, security and SSL for a monthly fee, which is why self-built setups are generally reserved for very large platforms with unusual needs.
Step by step: connect your site to cdn.com.tr
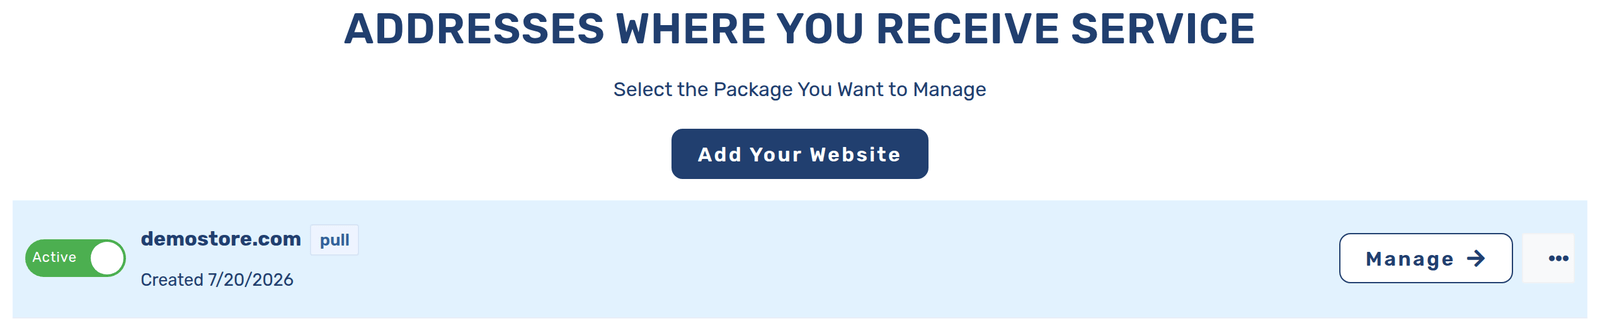
1) Create an account, click "Add Your Website" and choose Pull CDN as the content source — nothing changes in your site's code. 2) Choose how traffic reaches the CDN; there are three options: add a CNAME for a subdomain or an A record for the root domain ("Custom Domain" — your DNS stays where it is today), move your nameservers to manage the whole domain in one place ("Full DNS Transfer"), or take a ready cdn.com.tr subdomain for testing ("Default Endpoint"). 3) Set your origin server's address and ports under Content Source Configuration.
4) Add your domain under Content Delivery Points and verify ownership with the meta tag or DNS TXT record the panel shows; tick "Use automatic Let's Encrypt certificates" — HTTPS then works and renews by itself. 5) Once DNS propagates, your site is served through the CDN. Verify by opening a page and checking the X-Proxy-Cache-MT response header: HIT means the edge served it from cache. For DNS record details, see the CDN DNS setup guide.
The DNS record you add (one of two options)
# For a subdomain (DNS stays at your current provider):
www.yoursite.com.    CNAME    exmpl.cdn.com.tr.

# For the root domain:
yoursite.com.        A        <edge IP shown in the panel>

# Verify:
curl -sI https://www.yoursite.com | grep -i x-proxy-cache-mt
After setup: how to actually use your CDN
Once setup is done your site is served from the edge, but three small jobs unlock the real value. First, a cache rule: in Delivery Rules, add a long-TTL rule for your static assets (images, CSS, JavaScript) — that one rule carries most of your page weight. Second, purging: when content changes, clear the changed paths in Cache Cleanup so visitors never see a stale copy; you can automate this from the command line with cdnctl or via the API. Third, monitoring: the consumption and cache overview screens in the panel show your cache HIT ratio climbing as the edge warms up.
A hands-on walkthrough of all three, built around a store, is in the CDN for e-commerce guide; purge types are covered in detail in the cache purge guide. If your site runs WordPress, the free CDNTR plugin handles connection, purging and image optimization for you.
Who sets up a CDN
Route your domain through a Pull CDN and every visitor gets faster loads from a nearby edge — no code changes.
Setup adds the caching and DDoS protection that keep a busy store fast and online through spikes and campaigns.
A Push CDN serves images, video and downloads from edge storage and takes the load off your origin.
CDN Setup FAQ
Do I need my own server to set up a CDN?
No. On a managed CDN you connect your existing site by pointing a DNS record at the edge — there is nothing to install or build. Only very large platforms build their own CDN infrastructure.
Which DNS record does CDN setup require?
For a subdomain (like www or cdn) you add a CNAME to the address the CDN gives you; for a root domain you add an A record to the edge IP. You can also move your nameservers and manage all DNS from the CDN panel — the exact records are shown step by step during setup.
How long does CDN setup take?
The configuration itself takes minutes. After you change the DNS record, propagation can take from a few minutes up to 48 hours before every visitor is served through the CDN.
Will setting up a CDN change my website?
No. A Pull CDN serves your existing site as-is and caches it automatically; you make no code changes. Dynamic pages such as carts and checkouts keep working normally.
Do I have to move all my DNS to the CDN?
Not necessarily. You can keep DNS at your current provider and point only the delivery hostname at the CDN, or move your nameservers for fully managed DNS — the latter unlocks wildcard coverage and one-place management.
Can I try CDN setup for free?
When you start a plan, a 15-day free trial is added on top of the package; cancel any time and the fee is refunded the same day while the trial keeps running. So you can try the setup on your real site without risk.